

If you’re facing the frustrating issue where a message pops up saying, “QuickBooks connection has been lost. QuickBooks must close immediately. Any unsaved data will need to be re-entered,” you’re not alone. This problem, often occurring suddenly, can disrupt your work with QuickBooks company files. The root of this issue generally lies in the difficulty of accessing the company file. Additionally, setting the internal network card to enter sleep mode after a certain period can trigger this connection loss. This article aims to thoroughly explore both the causes and solutions for this troubling QuickBooks Network Connection Failure Error.
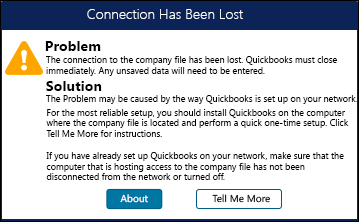
When attempting to access your company file, you might encounter an error message:
| Error | Description |
|---|---|
| QuickBooks Connection Has Been Lost | The connection to the company file has been lost. QuickBooks must close immediately. Any unsaved data will need to be re-entered. |
For those who need further assistance or expert advice to resolve this error, our QuickBooks Data Service team is here to help. Feel free to reach out to us for dedicated support in addressing this issue.
Reasons behind the QuickBooks Message Connection has been lost
If you’re encountering issues with losing connection to your QuickBooks company file, there are several potential causes to consider. Here’s a simplified list of common reasons:
- QuickBooks might not be updated to the latest version. It’s important to regularly check for and install any available updates.
- There could be issues with network connectivity. Make sure your computer has a stable internet connection or a secure network link.
- The folder where the QuickBooks (QBW) file is saved might need more permissions. Adjusting the security settings of the folder to grant necessary access can be helpful.
- Your anti-virus software or firewall settings might be interfering with QuickBooks operations. Review and modify these settings to ensure they don’t block QuickBooks.
- Power saving options on your computer might be enabled, which can sometimes disrupt software processes, including QuickBooks.
- The company file you’re trying to access could be damaged or corrupted, leading to connection issues. Consider repairing or restoring the file if this seems to be the case.
Each of these points can be a potential cause for the connectivity issues you’re experiencing with your QuickBooks company file. Identifying and addressing the relevant ones can help resolve the problem.
Signs of the QuickBooks Error Connection has been lost
When encountering the QuickBooks Connection has been Lost error, users may experience the following signs:
- Frequent disconnections from the QuickBooks company file.
- Inability to open or save transactions.
- Also, Users may face QuickBooks Network Connection Failure issue.
- You may encounter an Abort Error in QuickBooks Desktop.
- Delayed or slow response times when accessing company files.
- Error messages indicate a lost connection to the QuickBooks server.
QuickBooks Connection has been lost? Fix with easy methods
Several factors can lead to users encountering the “QuickBooks Network Connection Failure” issue. To effectively address this, it is recommended to start with essential troubleshooting steps, which are outlined in the subsequent sections. These steps are designed to systematically identify and resolve the underlying causes of the connectivity problem.
Method 1: Granting Additional Permissions to the Folder Containing QuickBooks Files
Sometimes, QuickBooks may encounter connectivity issues if the folder where the company file is saved lacks sufficient permissions. Granting additional permissions can resolve these issues, ensuring that QuickBooks can access and modify the files as needed. Here’s how to do it:
List of Steps:
- Locate the folder where your QuickBooks company file is stored. This is typically found in the ‘Intuit‘ folder within your ‘Documents’ or ‘C:\Program Files‘ directories.
- Right-click on the folder and select ‘Properties‘ from the context menu.
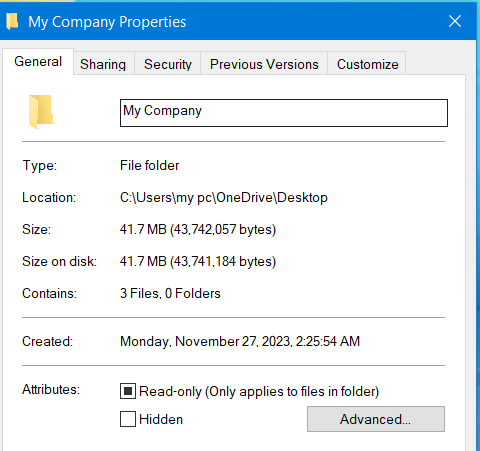
- In the Properties window, navigate to the ‘Security‘ tab.
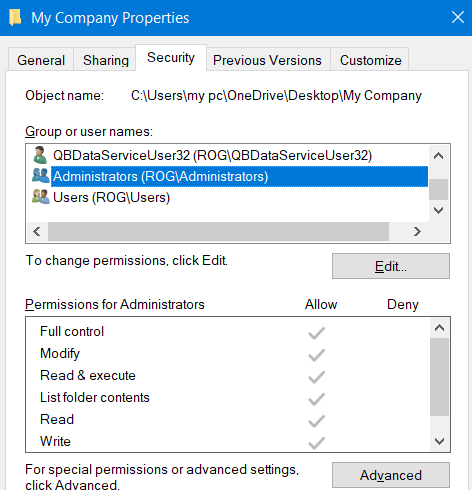
- Click on the ‘Edit‘ button to change permissions.
- In the permissions window, check if your user account or the group you belong to is listed. If not, click ‘Add‘ to include your account.
- In the ‘Add‘ window, type your Windows username and click ‘Check Names‘ to validate. Then, click ‘OK‘.
- Once your user account is added, select it from the list, and check the box for ‘Full control‘ under the ‘Permissions for Users’ section.
- Click ‘Apply‘, then ‘OK‘ to save the changes.
- Repeat these steps for any additional folders that contain QuickBooks files.
- Once done, restart QuickBooks and try to access the company file again to check if the issue is resolved.
By following these steps, you grant your user account full access to the folder where the QuickBooks company file is located, which can help in resolving connection-related issues in QuickBooks.
Method 2: Try to Update the QuickBooks Desktop Program
Updating QuickBooks Desktop is an essential process that can also help in resolving issues like ‘QuickBooks Connection Has Been Lost’. Here are the steps to update your QuickBooks Desktop:
- Close all running programs, including QuickBooks, to ensure a smooth update process without any conflicts.
- Open QuickBooks Desktop on your computer.
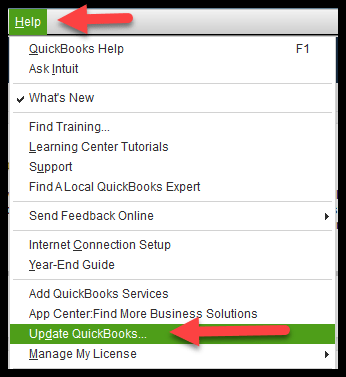
- Navigate to the ‘Help’ menu at the top of the QuickBooks window.
- From the ‘Help’ menu, select ‘Update QuickBooks Desktop’.
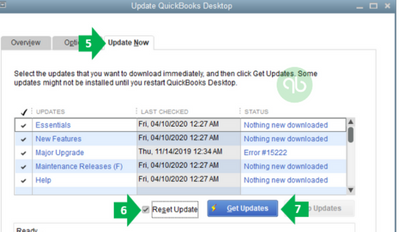
- In the update window, click on the ‘Update Now’ tab. Optionally, you can select the ‘Reset Update’ checkbox to clear all previous downloads, which can be useful if you’ve encountered issues with updates in the past.
- Click ‘Get Updates’ to start downloading the latest updates. The download time will vary based on your internet connection and the size of the update.
- Once the download is complete, close and reopen QuickBooks. The application should prompt you to install the downloaded updates. Follow the on-screen instructions to complete the installation.
- After updating, it’s a good practice to restart your computer. This ensures that all components of the update are correctly implemented.
Method 3: Adjust Firewall and Security Settings
To fix the “QuickBooks Connection Has Been Lost” issue by adjusting your firewall settings, follow these simple steps:
Incorporate an Exception in the Firewall for QuickBooks Port Access
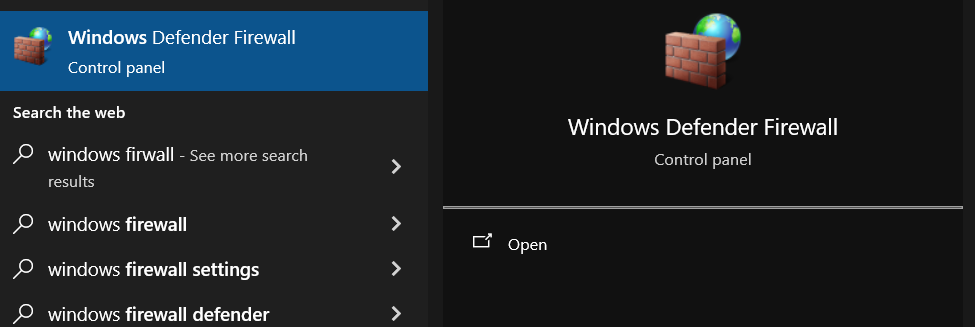
- Open the Windows Start Menu, type “Windows Firewall,” and open it.
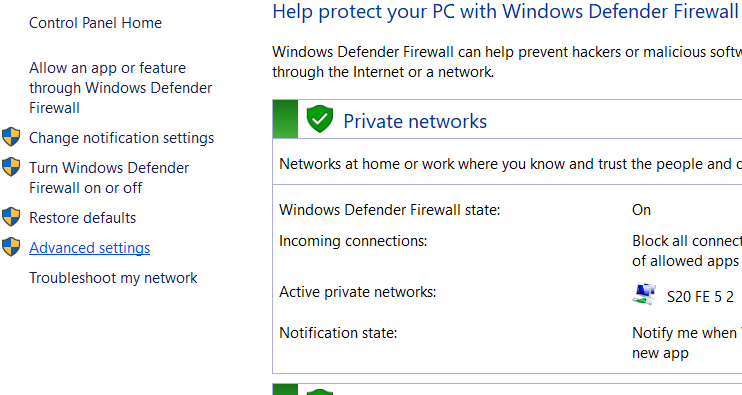
- Navigate to Advanced Settings.
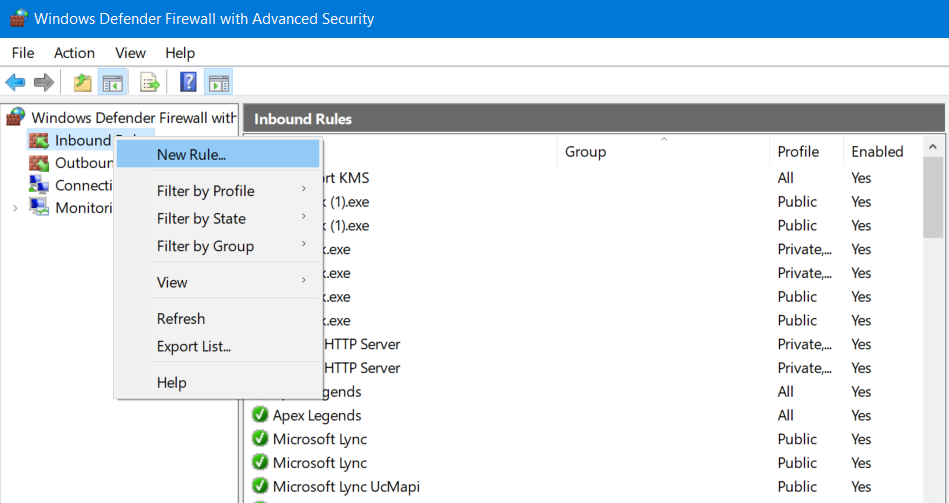
- In the firewall settings, start by creating new Inbound Rules. Right-click on ‘Inbound Rules‘ and select ‘New Rule‘. Repeat these steps later for Outbound Rules.
- When creating a new rule, select ‘Port‘ and ensure ‘TCP‘ is selected.
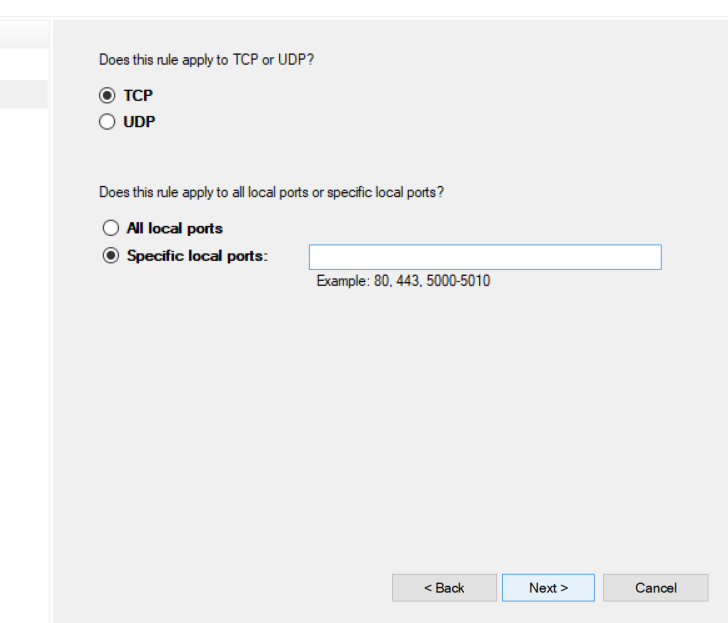
- Enter the specific ports based on your QuickBooks version:
- QuickBooks Desktop 2020 and later: 8019, [Dynamic Port].
- QuickBooks Desktop 2019: 8019, [Dynamic Port].
- QuickBooks Desktop 2018: 8019, 56728, 55378-55382.
- QuickBooks Desktop 2017: 8019, 56727, 55373-55377.
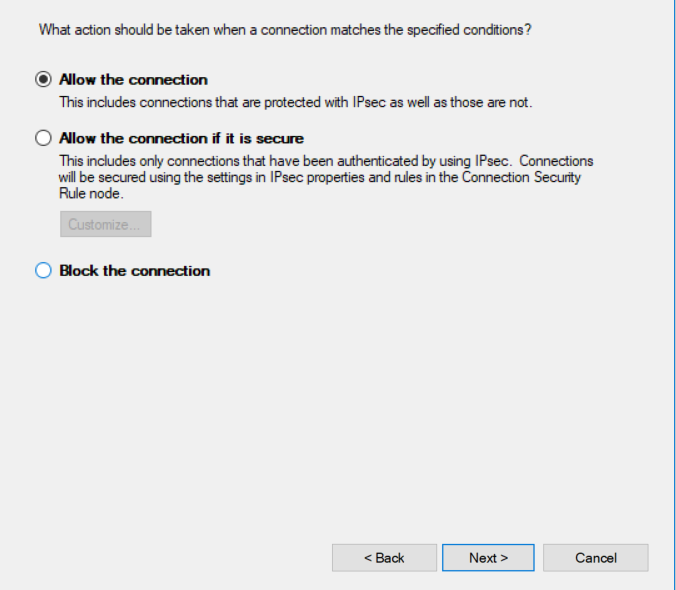
- After entering the port numbers, click ‘Next‘, choose ‘Allow the Connection‘, and then click ‘Next‘ again.
- If prompted, make sure all profiles are checked and then click ‘Next‘.
- Name your rule for easy identification, like “QBPorts(year)”, and select ‘Finish‘.
- Repeat these steps for creating Outbound Rules.
- Restart your computer to ensure all changes are applied properly.
Establish Exemptions in Windows Firewall for QuickBooks Software
To create Windows Firewall exceptions for QuickBooks programs, follow these steps:
- Open the Windows Start Menu, search for “Windows Firewall,” and open it.
- Go to Advanced Settings.
- Start by creating new Inbound Rules. Right-click on ‘Inbound Rules‘ and choose ‘New Rule’. You’ll need to do this for Outbound Rules as well.
- When creating a new rule, select ‘Program‘ and then click ‘Next‘.
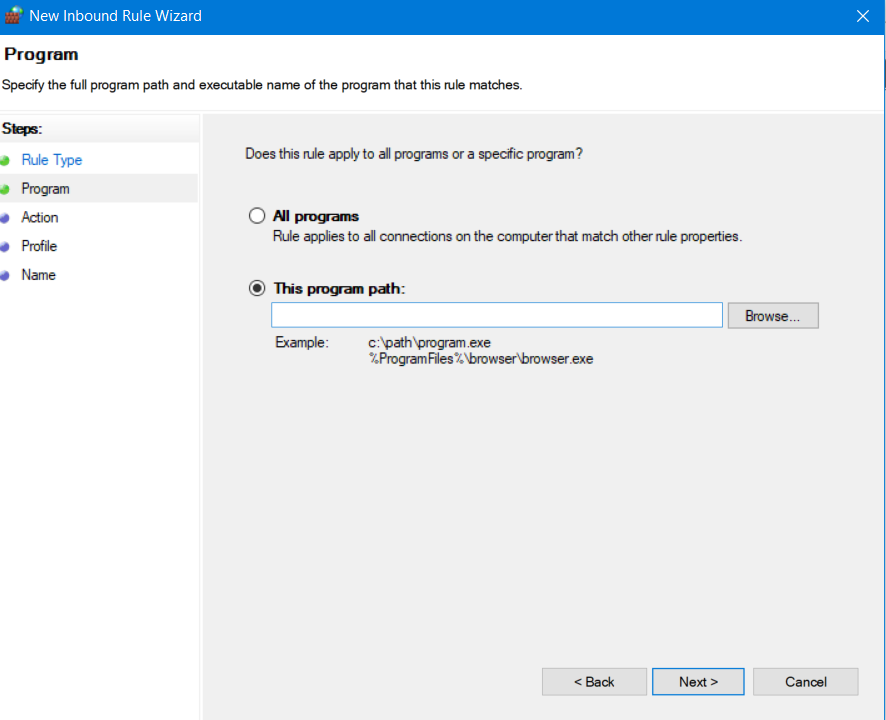
- Choose ‘This Program Path‘, then click ‘Browse‘.
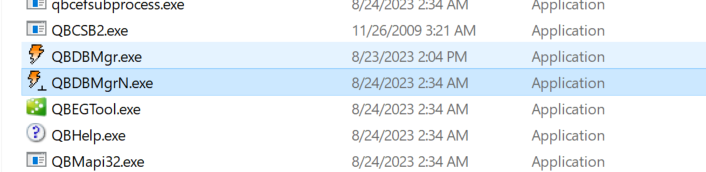
- Locate and select each of the QuickBooks executable files. The common file paths are typically in the QuickBooks installation folder in ‘C:\Program Files\Intuit\QUICKBOOKS YEAR‘ or ‘C:\Program Files\Common Files\Intuit\QuickBooks‘.
- After selecting the required executable file, click ‘Next‘.
- Choose ‘Allow the Connection’ and then click ‘Next‘. Make sure all profiles are checked.
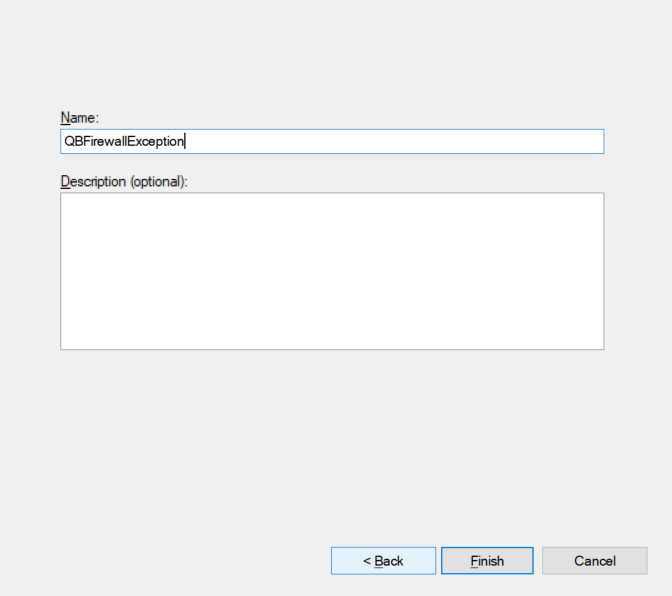
- Name your rule for identification, like “QBFirewallException(name.exe)”, and click ‘Finish‘.
- Repeat these steps for creating Outbound Rules.
- Restart your computer to apply the changes effectively.
This process ensures that QuickBooks programs are allowed through the firewall, which can help in resolving connectivity issues.
Some Crucial QuickBooks Executable Program
| Executable File | Default Location | Description |
|---|---|---|
| AutoBackupExe.exe | C:\Program Files\Intuit\QUICKBOOKS YEAR | Manages the automatic backup feature in QuickBooks. |
| Dbmlsync.exe | C:\Program Files\Intuit\QUICKBOOKS YEAR | Synchronizes database changes between QuickBooks and external applications. |
| DBManagerExe.exe | C:\Program Files\Intuit\QUICKBOOKS YEAR | Manages the QuickBooks database server which hosts company files. |
| FileManagement.exe | C:\Program Files\Intuit\QUICKBOOKS YEAR | Handles file operations like opening, closing, and moving QuickBooks company files. |
| FileMovementExe.exe | C:\Program Files\Intuit\QUICKBOOKS YEAR | Responsible for moving and updating company files within QuickBooks. |
| QuickBooksMessaging.exe | C:\Program Files\Intuit\QUICKBOOKS YEAR | Facilitates internal messaging and communication within QuickBooks applications. |
| QBW32.exe | C:\Program Files\Intuit\QUICKBOOKS YEAR | Main executable for QuickBooks software. |
| QBDBMgrN.exe | C:\Program Files\Intuit\QUICKBOOKS YEAR | Runs the QuickBooks Database Server Manager, which allows multiple users to access databases. |
| QBServerUtilityMgr.exe | C:\Program Files\Common Files\Intuit\QuickBooks | Helps manage server processes and resources for QuickBooks. |
| QBCFMonitorService.exe | C:\Program Files\Common Files\Intuit\QuickBooks | Monitors and manages the QuickBooks Company File service. |
| QBLaunch.exe | C:\Program Files\Common Files\Intuit\QuickBooks | Assists in launching various QuickBooks components. |
| QBUpdate.exe | C:\Program Files\Common Files\Intuit\QuickBooks\QBUpdate | Manages the updating process for QuickBooks software. |
| IntuitSyncManager.exe | C:\Program Files\Common Files\Intuit\Sync | Manages synchronization tasks between QuickBooks and other Intuit services. |
| OnlineBackup.exe | C:\Program Files\QuickBooks Online Backup | Manages the online backup feature for QuickBooks data. |
Note: For 64-bit operating systems, the path “C:\Program Files (x86)” is commonly used.
Method 4: Verify QuickBooks Services
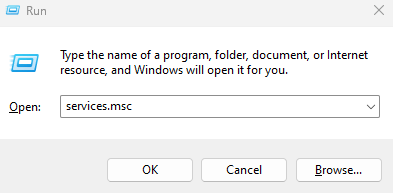
- Press the Windows + R keys to open the Run dialog box.
- Type “services.msc” and hit Enter.
- Locate the QuickBooks services (e.g., QuickBooksDBXX or QBFCMonitorService) and ensure they are running.

- If any service is stopped, right-click on it and select Start.
Method 5: Utilizing QuickBooks One-Stop Solution Tool Hub
In this method, we’ll use the QuickBooks One-Stop Solution Tool Hub to address the network connection error when accessing the QuickBooks company file. This comprehensive approach targets various common issues, including connection errors, through a suite of tools designed to diagnose and resolve them efficiently.
Step 1: Download and Install QuickBooks Tool Hub
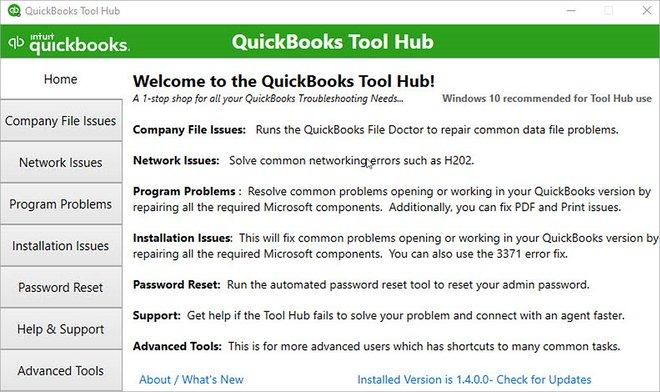
The QuickBooks Tool Hub is a consolidated collection of QuickBooks’ most effective tools. It serves as a first-line solution for common issues, particularly those related to network connectivity and accessing company files. By downloading and installing this hub, you gain access to a range of tools specifically designed to fix a variety of QuickBooks-related problems.
- Close any open QuickBooks application.
- Download the QuickBooks Tool Hub from the official QuickBooks website.
- Save the file in an accessible location, like your desktop.
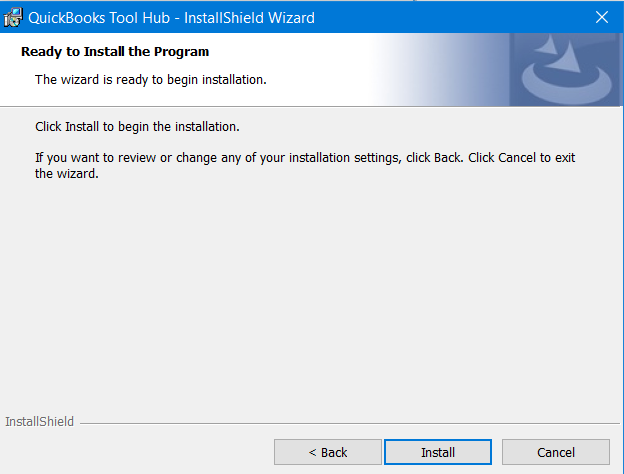
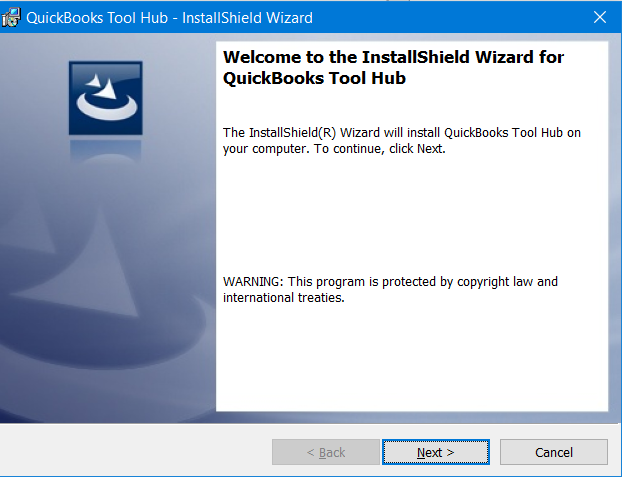
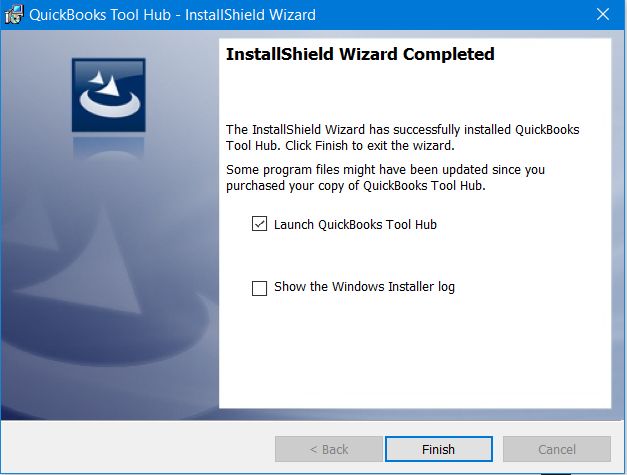
- Open the QuickBooksToolHub.exe file and follow the installation prompts.
- After installing, open the tool hub by double-clicking its icon.
Step 2: Use QuickBooks Fix My Program
QuickBooks Fix My Program is a beneficial feature within the Tool Hub, specifically tailored to address issues like the “QuickBooks Connection has been Lost” error. It works by quickly scanning and repairing common program-related issues, which can be a crucial step in resolving connectivity problems.
- Open the QuickBooks Tool Hub.
- Click on the ‘Program Problems’ tab.
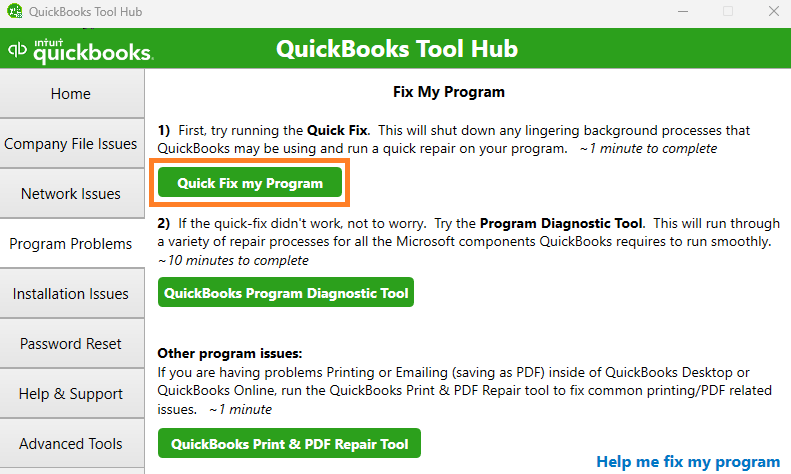
- Select ‘Quick Fix my Program’.
- The tool will start and may take about a minute to run.
- Once it completes, open QuickBooks and check if the issue is resolved.
Step 3: Execute File Doctor Program
The QuickBooks File Doctor is a powerful tool within the Tool Hub designed to tackle issues related to company files, including connection errors. It scans and repairs the company file, which can be crucial in fixing errors that cause loss of connectivity to the company file in QuickBooks.
- In the QuickBooks Tool Hub, click on the ‘Company File Issues’ tab.
- Select ‘Run QuickBooks File Doctor’.
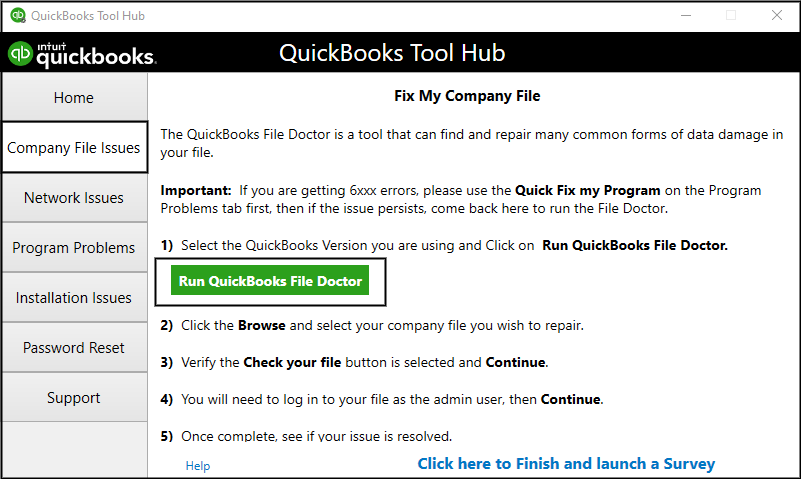
- The File Doctor tool will open. Choose your company file from the drop-down list. If you can’t see your file, browse and locate it.
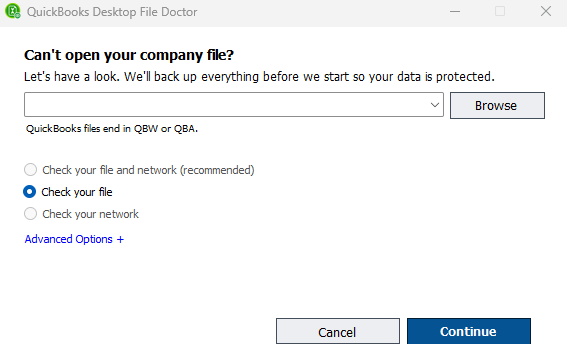
- Select ‘Check your file’ (middle option) and then click ‘Continue’.

- Enter your QuickBooks admin password and then click ‘Next’.
- The scan time depends on your file size. It might take up to 5 minutes.
- After the scan is complete, open QuickBooks and your company file to see if the QuickBooks Connection Has been lost is resolved.
Conclusion
The QuickBooks Connection has been lost Error can be frustrating, but by following the troubleshooting methods outlined in this article, you can effectively resolve the issue. Start by checking your network connectivity, updating QuickBooks, adjusting firewall settings, verifying QuickBooks services, and running the QuickBooks File Doctor. If the problem persists, don’t hesitate to contact QB Data Service Experts for professional assistance. Remember, resolving QuickBooks Connection has been lost promptly ensures uninterrupted productivity and smooth accounting operations.
Frequently Asked Questions
What should I do when I get the error “The connection to the company file has been lost”?
This error usually indicates difficulty accessing the company file. It could be due to network issues, power management settings, or issues with the file itself. To resolve it, check your network connection, ensure the folder where the QBW file is saved has the right permissions, and verify that your firewall or antivirus isn’t blocking QuickBooks.
What are some quick steps I can take before troubleshooting this error?
Try restarting the database server manager, moving the file to a different folder, and setting power-saving options to never. Also, check the folder permissions where the company file is stored and ensure no antivirus software is conflicting with QuickBooks.
How do I restore a network connection in QuickBooks Desktop?
1. Open QuickBooks as an administrator.
2. Go to File > Open or Restore Company.
3. Select Open a Company File and click Next.
4. Navigate to Network Places, then Entire Network, and locate your company file.
5. Open the file to re-establish the connection.
What if QuickBooks is still not connecting to the server?
If QuickBooks isn’t connecting to the server, check if you’re using an outdated version of QuickBooks, assess your internet connection quality, and ensure the firewall isn’t blocking QuickBooks.
