
QuickBooks Error 1603 often emerges as a significant hurdle when users attempt to install or update QuickBooks Desktop. This error not only interrupts the installation process but also poses potential setbacks to maintaining accurate and up-to-date financial records in small to medium-sized businesses. As this issue typically occurs during critical software updates or initial installations, comprehending its nuances is crucial for effective troubleshooting. This ensures that your business operations can continue efficiently with minimal disruptions. In this article, we will delve into what QuickBooks Update Error 1603 involves and examine its impact on business operations, providing insights into how to navigate and resolve this common software issue.
Error Status 1603: The update installer has encountered an internal error.
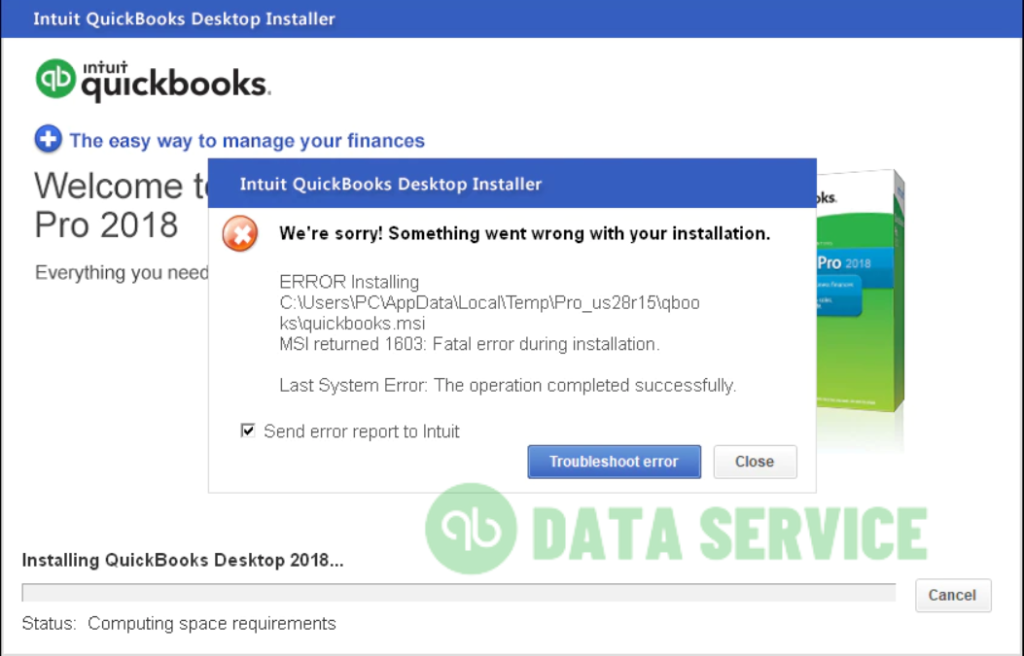
MSI returned 1603: Fatal error during installation.
Install Error 1603: Issues with Microsoft .NET Framework installation.Still stuck with QuickBooks Error 1603 after countless fixes that didn’t work? Don’t waste more time—let the experts take over! Call Data Services Experts at +1-888-538-1314 and get a quick, hassle-free solution. Why struggle when help is just a call away?
What is QuickBooks Update Error 1603?
Error 1603 in QuickBooks Desktop is often encountered while software upgrade or installation process, highlighting issues that interfere with execution. Such errors can stall essential financial processes by preventing critical updates. The error message, “Error 1603: The update installer has encountered an internal error,” draws attention to the need to address the root cause promptly, as delays can disrupt workflows and hinder reliable system performance.
Reasons Behind QuickBooks Update Error 1603
QuickBooks Error 1603 often arises when updating or installing QuickBooks Desktop, and it can stem from several issues. Here’s a closer look at the typical reasons behind this error:
- An unstable internet connection can disrupt the download process, leading to errors such as 1603, 1712, 1723, and 1904.
- If QuickBooks is being installed from a CD or DVD, any scratches or damages to the disc can prevent proper reading of data, resulting in Error 1603.
- Downloading QuickBooks from unofficial or unsecured websites can lead to incomplete or corrupted installation files.
- QuickBooks requires the Windows Installer Service to be running in order to install or update properly. If this service is disabled, Error 1603 may occur.
- Since QuickBooks relies on Microsoft .NET Framework for many of its functions, any issues with it can cause installation errors.
- QuickBooks also depends on Microsoft MSXML services. If these are not properly installed or are corrupted, it could trigger Error 1603.
- Sometimes, antivirus programs may mistakenly delete or quarantine files during the download or installation process, leading to missing files and subsequent errors.
- Malware infections can block or alter the installation files of QuickBooks, preventing the update from completing successfully.
- Deleting or corrupting the Microsoft Visual C++ Redistributable component can affect several applications that depend on it, including QuickBooks, potentially causing Error 1603 during installation.
Understanding these causes can help in diagnosing and resolving QuickBooks Error 1603 more effectively, ensuring a smoother installation or update process for your accounting software.

Stepwise Solutions to fix QuickBooks Desktop Error 1603
Here are a number of potential solutions, each carefully considered to potentially assist in effectively resolving QuickBooks Update Error 1603:
1st: Use Automatic Install Diagnostic Tool
The QuickBooks Install Diagnostic Tool is an automated utility designed to assist QuickBooks users in quickly resolving installation and uninstallation issues. Below, we provide a detailed guide on how to use the QuickBooks Install Diagnostic Tool to address QuickBooks Desktop Error 1603.
Step 1: Setting Up the QuickBooks Tool Hub
The QuickBooks Tool Hub is a versatile utility designed to address various issues with QuickBooks, offering the best performance on Windows 10, and 64-bit systems.
Initiating the Setup:
- Ensure QuickBooks is closed.
- Download the latest version of the QuickBooks Tool Hub (Version 1.6.0.3). It’s advisable to save the downloaded file in an easily accessible location, like the Downloads folder or the Windows desktop.
- To check if you already have the Tool Hub installed and determine its version, navigate to the Home tab within the application. The version details will be displayed at the bottom.
Installation Process:
- Launch the downloaded file,
QuickBooksToolHub.exe.
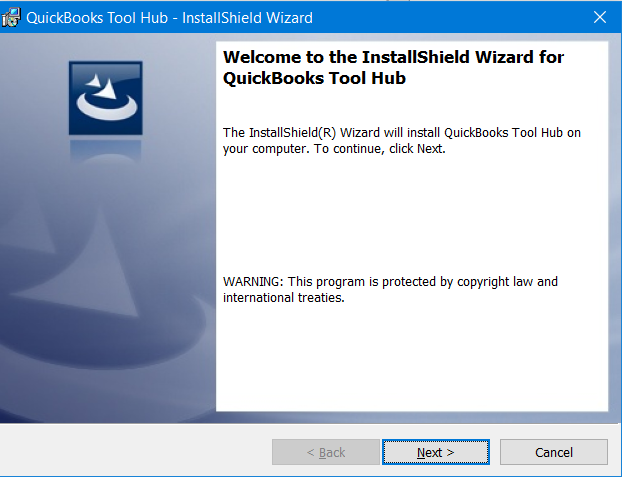
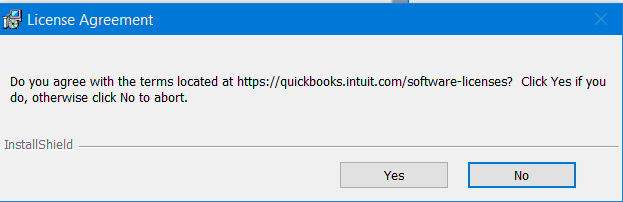
- Follow the on-screen prompts to complete the installation, ensuring you agree to the terms and conditions.
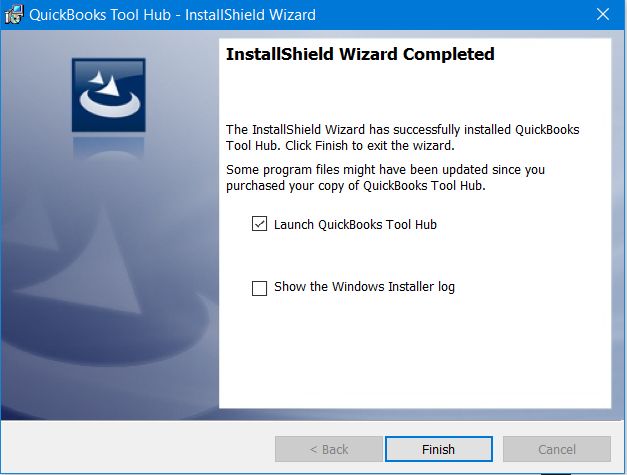
- Upon completion, access the Tool Hub by double-clicking its icon on your desktop. If the icon is not immediately visible, utilize the Windows search function and type “QuickBooks Tool Hub“, then launch the program.
Step 2: Deploying the QuickBooks Install Diagnostic Tool
The QuickBooks Install Diagnostic Tool is an efficient solution to mend common installation or update glitches in the QuickBooks Desktop application.
- Open the QuickBooks Tool Hub you set up.
- Navigate to the ‘Installation Issues’ tab.
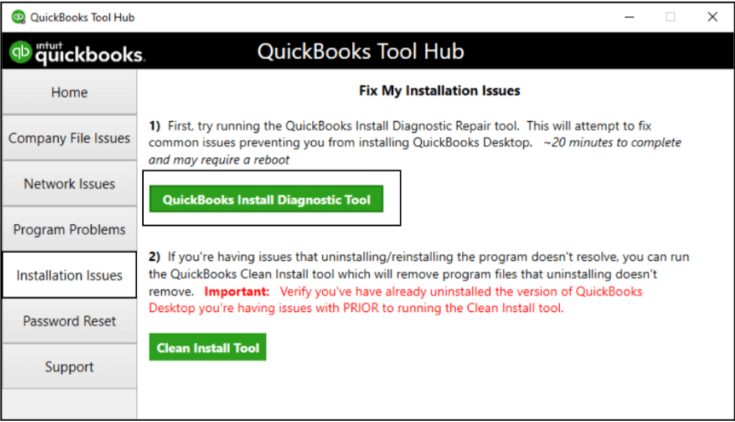
- Click on ‘QuickBooks Install Diagnostic Tool‘ and allow it to run. This process may take up to 20 minutes.
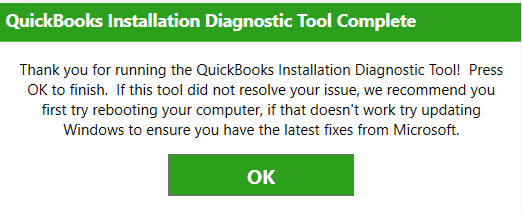
- Once completed, it’s essential to restart your computer.
The Install Diagnostic Tool is a reliable method for troubleshooting regular installation challenges. If, however, the issue remains unresolved, consider exploring additional troubleshooting techniques.
2nd: Upgrade Windows Features to the Newest Version
Keeping Windows updated can alleviate QuickBooks issues caused by Microsoft component discrepancies. Here’s a step-by-step guide to ensure your system is up-to-date:
- Activate the Run window by pressing the Windows key + R on your keyboard.
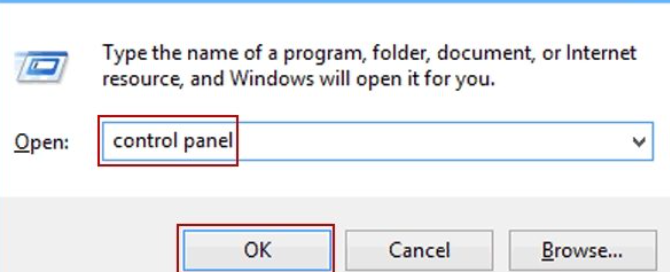
- Type “Control Panel” into the Run text box and hit Enter.
- Within the Control Panel, utilize the search bar to locate “Windows Update“.
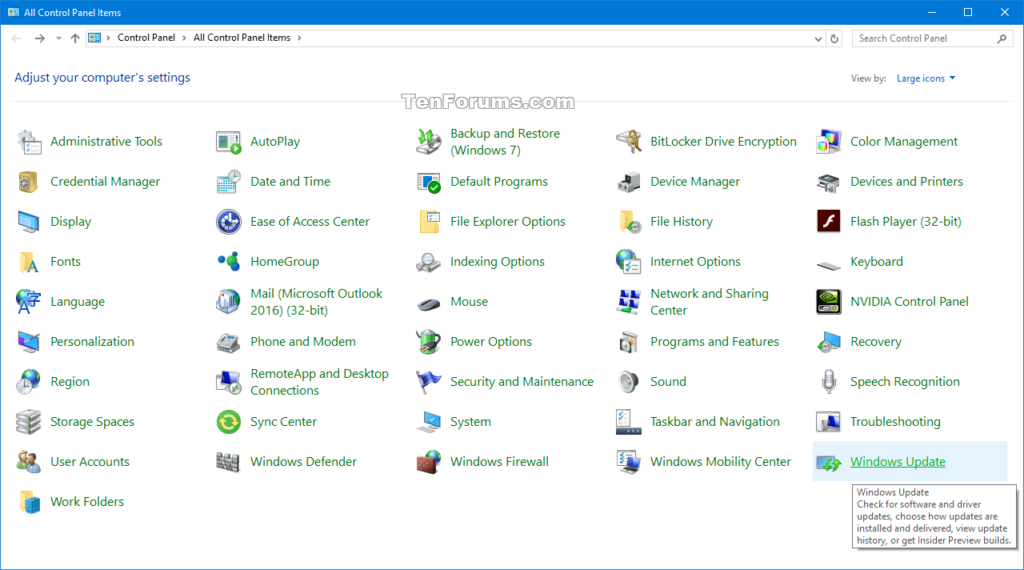
- Select Windows Update, then choose “Check for Updates” from the left-hand sidebar.
Note: If the “Windows Update” option isn’t visible, you can alternatively download and install updates manually using the .msu package available on the Microsoft Update Catalog.
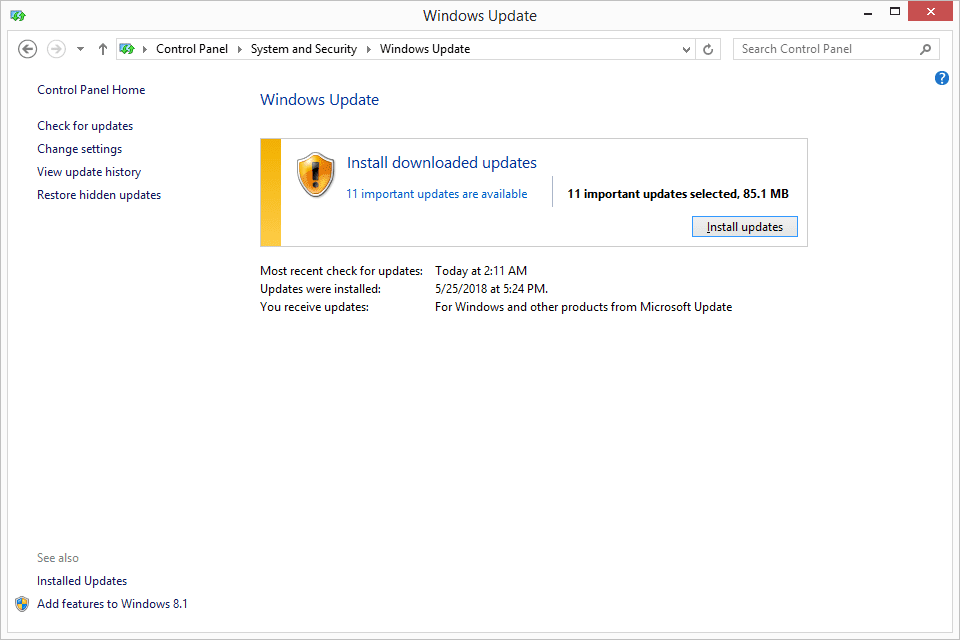
- Once Windows completes its update search, select “Install Now“.
- Post installation, reboot your computer. Subsequently, try reinstalling or updating QuickBooks.
- If the Windows update doesn’t rectify the issue, consider other troubleshooting methods.
3rd: Adjust Windows Security Settings Manually
Windows has certain built-in settings that may prevent the download and installation of updates from third-party apps. To address this and possibly resolve the error, you can modify the Windows Local Group Policies. Here’s how:
- Ensure you’re logged into your computer with administrative rights.
- If you can’t access the Windows Administrator account, consult your IT team for assistance.
Note: Before proceeding with the next steps, ensure you have a backup of all essential files and system settings. Changing group policies can affect your system’s behavior.
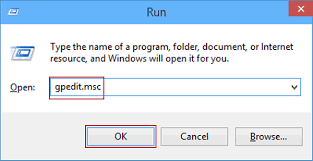
- Simultaneously press Windows + R to bring up the Run dialogue box. Enter “gpedit.msc” and press Enter.
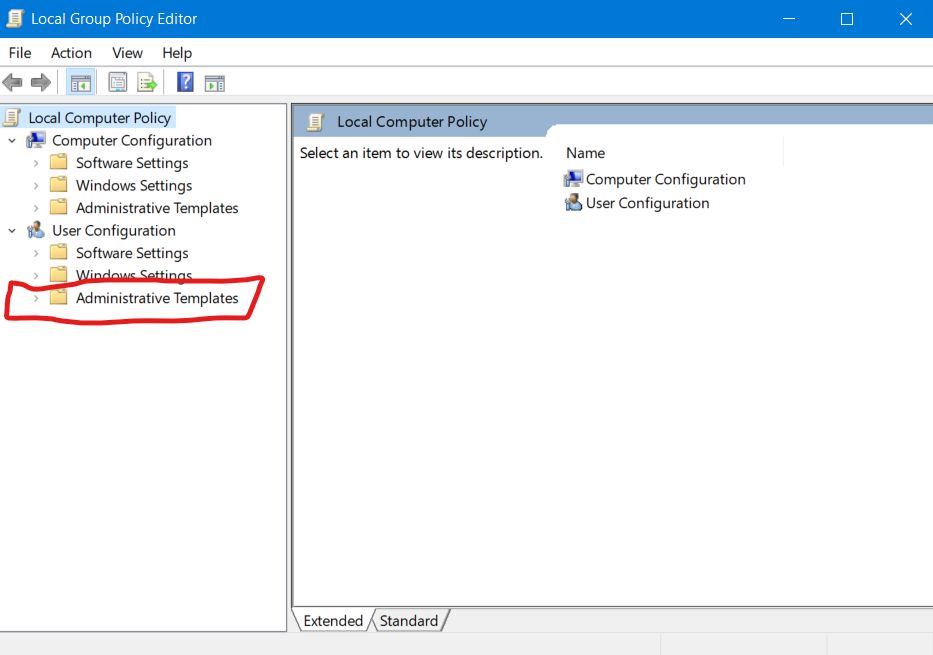
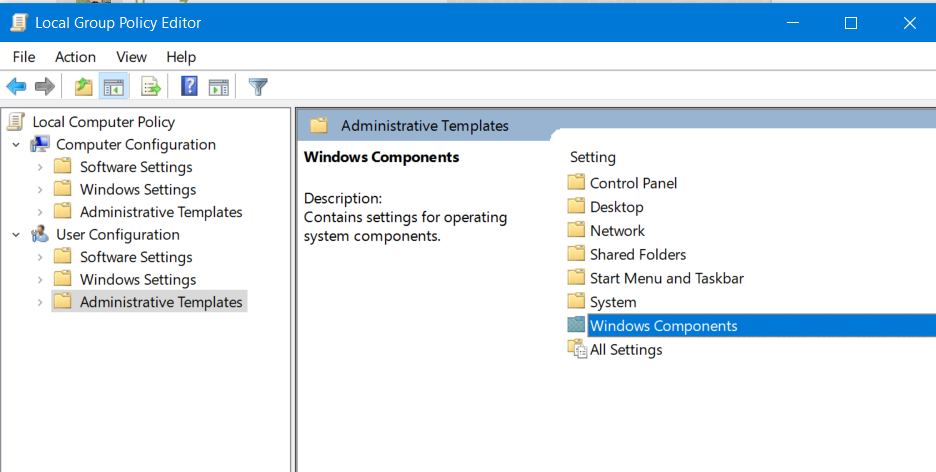
- Navigate to the Computer Configuration section and then to Administrative Templates.
- From there, go to Windows Components, then Windows Installer, and finally to Prohibit User Installs.
- Double-click this policy to modify it. Ensure the “Not Configured” option is selected.

- After confirming your choice with OK, attempt your QuickBooks installation once more.
Steps To Fix QuickBooks Error 1603 Manually
If the diagnostic software that was installed does not produce effective results, then you should attempt to recover the error using the manual approach to fix QuickBooks error 1603. In this approach, you should make sure that you get the assistance of an expert person in order to troubleshoot the issue. In order to swiftly correct the issue, you will need to follow the actions that are given below.
1st: Resolve Microsoft .NET Framework Error 1603 in QuickBooks Manually
QuickBooks Desktop leans on Microsoft tools to power its web-based functions. A pivotal one among them is the Microsoft .NET Framework. If this framework encounters problems, it might hinder the smooth operation of QuickBooks.
For Windows 10 and Newer Versions:
- Ensure all active programs are shut.
- Navigate to the Windows Start menu.
- In the search bar, enter “Control Panel” and open it.
- Head over to Programs and Features.
- Click on ‘Uninstall a Program’. Rest assured, we won’t be removing anything.
- Choose the ‘Turn Windows features on or off’ option.
- Look for .NET Framework in the list provided.
Reminder: The method to mend .NET. Framework versions like 4.5, 4.6, 4.7, and 4.8 remains consistent.
Addressing .NET Framework 4.5 (or its successors):
- If the checkbox for .NET Framework 4.5 (or a subsequent version) is unchecked:
- Tick the box to activate .NET Framework 4.5 (or the version in question).
- Save your adjustments with ‘OK’.
- Reboot your PC.
- If the checkbox for .NET Framework 4.5 (or a newer version) is already marked:
- Untick it to deactivate .NET Framework 4.5, ensuring you leave it off.
- Confirm the changes with ‘OK’.
- Restart your device.
- Once back in Windows, revert to the above steps to reactivate .NET Framework 4.5.
Adjusting .NET Framework 3.5 SP1:
- If the .NET Framework 3.5 SP1 option isn’t ticked:
- Activate it by ticking the checkbox.
- Commit to the changes with ‘OK’.
- Initiate a system reboot.
- If the checkbox next to .NET Framework 3.5 SP1 is already active:
- Deactivate it by unticking the checkbox, leaving it as such.
- Lock in your choice with ‘OK’.
- Power-cycle your computer.
- Once logged back into Windows, revisit the steps to enable .NET Framework 3.5 SP1.
If any challenges arise while toggling the .NET Framework settings, it’s wise to consult an IT expert or Contact QB Data Services Expert. It’s possible the hiccup might be rooted in the OS, rather than QuickBooks.
2nd: Mending Microsoft MSXML
Microsoft defines its XML Core Services (MSXML) as a suite of services letting apps created in Script, VBScript, and various Microsoft tools to develop XML-centric applications for Windows. When MSXML is flawed, it may interfere with the flawless operation of QuickBooks Desktop.
Errors you might stumble upon include:
- “Ensure MSXML 4 is aptly set up on your system.”
- “QuickBooks encountered an issue accessing this registration document. Confirm MSXML 4 is appropriately installed: C:\Documents and Settings\All Users\Application Data\COMMON FILES\Intuit\QuickBooks\QBRegistration.dat.”
- “An irreversible error manifested. Exception: MSXML couldn’t establish an instance.”
- Stagnation at “MSXML 4.0 installation” during the install process.
- “QuickBooks Error 1603 Filename.dll isn’t executable.”
- On 64-bit devices, challenges might arise while registering msxml3.dll or msxml4.dll.
Registration aid isn’t available for this file category.
The root causes of these errors could be:
- During its installation, QuickBooks Desktop references the QBRegistration.dat file. MSXML 4, if faulty or absent, can’t read this XML file.
- The MSXML.dll file of your Windows system, a part of Microsoft Core XML Services, may be absent, flawed, or deregistered.
- A compromised or deregistered Microsoft XML Parser (MSXML) might be the culprit.
To rectify MSXML-related issues, follow these troubleshooting measures:
Registering MSXML DLL files:
- For a 64-Bit OS:
- Navigate to the Windows Start menu and input ‘cmd’.
- Right-click ‘cmd’ and opt for ‘Run as Administrator’.
- In the command line, input ‘cd\windows\syswow64’.
- Enter ‘regsvr32 MSXML6.dll’ and hit Enter.
- Proceed to install QuickBooks Desktop.
- For a 32-Bit OS:
- Use the Windows+R combination to open the ‘Run’ dialogue.
- Input ‘cmd’ and hit Enter.
- Enter ‘regsvr32 MSXML6.dll’ and press Enter.
- Now, begin the QuickBooks Desktop installation.
If the hindrance persists, it’s advisable to consult IT experts for their expertise.
3rd: Setting up QuickBooks Desktop within Windows’ Protective Safe Mode
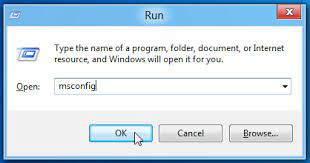
- Simultaneously press the Windows + R keys to evoke the Run dialogue box.
- Input
MSConfigand hit Enter.
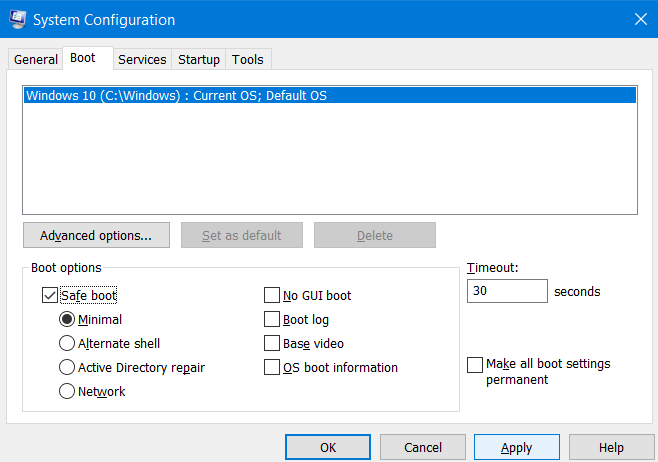
- Journey over to the Boot tab and activate the Safe Mode feature.
- Save your changes with Apply and OK, and then give your Windows a reboot, allowing it to initiate in Safe Mode.
- With Windows now in this secure environment, go ahead and get QuickBooks Desktop up and running. Don’t forget to complete the product’s registration.
- Revisit the MSConfig tool, turning off the Safe Mode feature this time.
- Commit to these new settings by pressing Apply and OK. Let your computer breathe and restart, shifting it back to the typical mode.
- Launch QuickBooks Desktop and see if the skies are clear of QuickBooks Update error 1603 now.
4th: Make use of selective startup to install QuickBooks desktop
To prevent the occurrence of QuickBooks Error 1603 during installation, it’s advisable to use the Windows Selective Startup option. This approach minimizes conflicts with other programs. Below is a step-by-step guide on how to activate the selective startup option in Windows.
- Get the data ready, make a copy of the company file, and save a copy of the QuickBooks desktop products along with the license information.
- To launch the run dialogue, press the Windows key and the R key simultaneously.
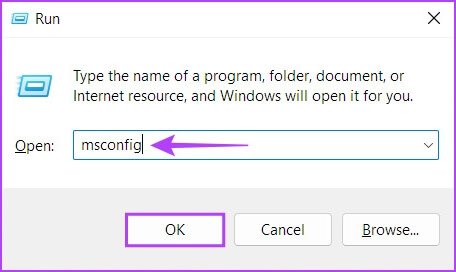
- After entering “MSConfig,” select the “OK” option to continue.
- Select the selective startup option and load system services from the general tab of the system configuration menu.
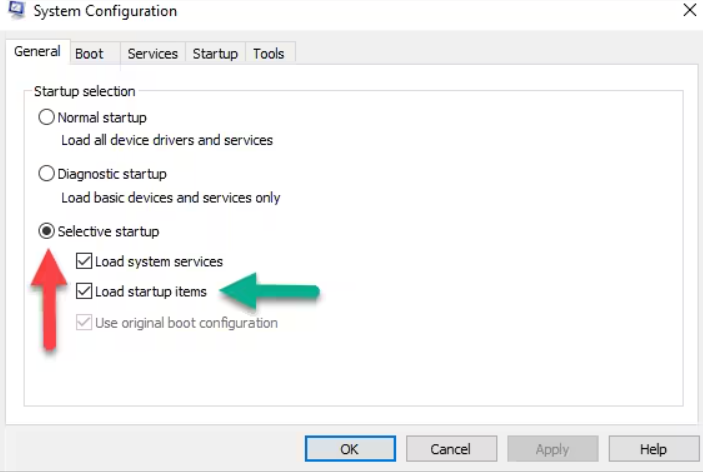
- In addition, select the option to conceal all Microsoft services.
- Choose to turn off everything. Remove the checkmark from the box labeled “Hide all Microsoft services.”
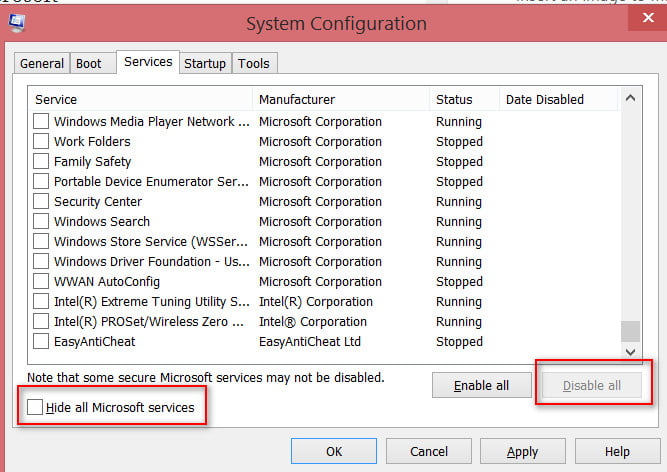
.
Conclusion
We understand how frustrating QuickBooks Error 1603 can be, especially when it disrupts your workflow at the worst possible time. While the troubleshooting steps above should resolve the issue for most users, if the error’s still hanging around, we’ll show it the door! Help is just a call away—Reach out to Data Services Experts at +1-888-538-1314 for a speedy resolution. Let’s get things running smoothly again!
Q. Can I keep using QuickBooks if I see Error 1603 or must I stop work immediately?
A: You might be able to open QuickBooks, but continued use is risky. Error 1603 indicates your installation or update is partially broken. Features may not work correctly, Windows components may be compromised, and future updates won’t apply cleanly. It’s best to resolve the error before relying on QuickBooks for critical work.
Q. Why does Error 1603 frequently mention the Microsoft .NET Framework or MSXML?
Q. What special checks should I perform on Windows 11 before tackling QuickBooks Error 1603?
A: On Windows 11:
* Ensure Windows Installer Service is running and not disabled by security policy.
* Make sure .NET Framework 3.5/4.x is enabled in Optional Features.
* Verify no group policy is blocking software installation.
* Temporarily disable third-party antivirus or Windows security if it’s blocking installer actions.
These checks reduce the chance of Error 1603 in modern OS.
Q. My QuickBooks update failed with Error 1603, but my company file is still intact. Will fixing the error affect my data?
A: No — your company file (.QBW) remains safe if the error occurred during install or update. The problem lies with the software or Windows components, not your data. Nonetheless, always back up your data before repairs to be safe.
Q. After fixing Error 1603, will I need to reinstall QuickBooks entirely?
A: Not always. If the underlying Windows components are repaired and the installer runs successfully, you can update or patch QuickBooks without full reinstallation. However, if files remain corrupted or the installation is badly damaged, a full clean reinstall may be the most reliable route.
Q. How can I prevent QuickBooks Error 1603 from happening again in the future?
A: Preventive measures include:
* Always install updates from within QuickBooks, not third-party sources.
* Keep Windows and its components (.NET, MSXML, C++) fully updated.
* Avoid running other heavy installs or background updates when updating QuickBooks.
* Use the latest QuickBooks supported version for your OS.
* Regularly back up your company file and maintain good hardware stability.
Related Article to read
How to resolve QuickBooks Installation Error 1712
