
QuickBooks Error 1712 is a common issue that QuickBooks Desktop users might face. Although QuickBooks is a reliable accounting software, it can sometimes encounter bugs and errors that can affect its performance. Error 1712 is one such error that can cause inconvenience to users of QuickBooks 2021, 2022, and 2023. In this article, we will explore some techniques to assist QuickBooks users in resolving Error 1712 and using the software without interruptions.
Are you feeling frustrated and stuck with installation Error 1712 in QuickBooks, despite following all the troubleshooting techniques and tips? In such circumstances, it is time to seek the help of the QB Data Services experts for immediate and effective assistance dial 1-888-538-1314.
What is QuickBooks installation has failed Error 1712?
Error message 1712 users usually encounter as “We’re sorry something went wrong with your QuickBooks 2023 installation“. One or more files are needed to restore QuickBooks to the previous state that could not be found. The grounds for installation failed error 1712 can be numerous, Therefore we have discussed all possible reasons below separately.

Common factors for error 1712 in QuickBooks Desktop
There are several potential causes for QuickBooks Installation failed Error 1712, some of which remain elusive. However, we’ve identified a few common factors that frequently contribute to this issue:
- There’s a possibility that some files were not fully downloaded during QuickBooks installation, leading to this error.
- Utilizing older versions of Windows, such as Windows 7 or 8, can lead to compatibility issues with QuickBooks, potentially triggering Error 1712.
- If the QuickBooks setup file is downloaded from an unauthorized or untrustworthy source, it may cause installation problems.
- Your computer might be affected by viruses or malware that corrupt the QuickBooks setup file, preventing it from being installed correctly.
- A malfunctioning Windows Installer application can disrupt the installation process of QuickBooks.
- Damaged or corrupted entries in the Windows registry can hinder QuickBooks from properly registering its files during installation, leading to Error 1712.

Methods to eliminate QuickBooks installation error 1712?
Typically this error is raised due to malfunction at the end of the window. Thus we have commenced troubleshooting by checking the windows modules installer service.
Method 1: Restart Windows Installer Program
- To start troubleshooting, Press the Windows Button.
- Next, Type Services in the search box.
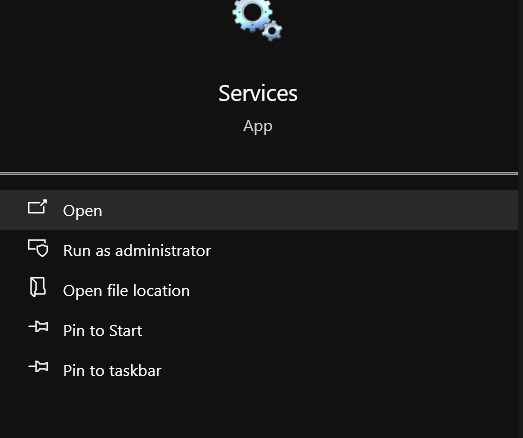
- Click on the Services option.
- There you can find a service such as “Windows Modules installer“.

- Right-click on it and then select the properties option.
- Go to the general tab option and there check the Service startup type option.
- If you find the service is “disabled“, then enable it by choosing the “Automatic” option.
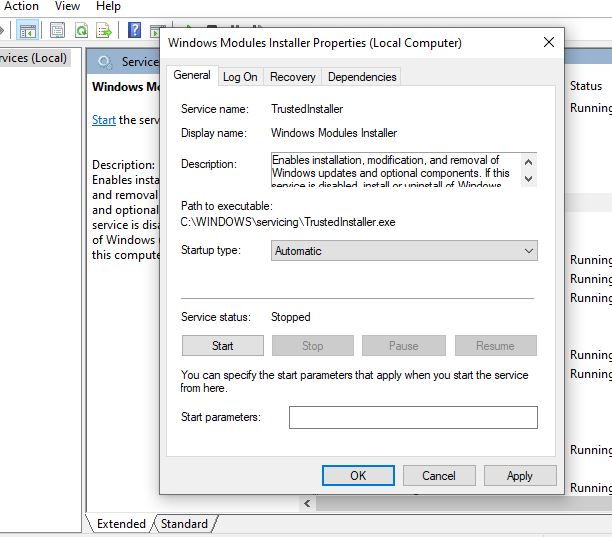
- At last, Restart the workstation and try again to install QBD.
Method 2: Use Quick Fix my program and install diagnostic program from Tool Hub
#1: Install QuickBooks Tool Hub
- Launch any web browser on your system.
- “https:/dlm2.download.intuit.com/akdlm/SBD/QuickBooks/QBFDT/QuickBooksToolHub.exe?_ga=2.257255563.1804707383.1665582036-956959517.1663961413” Copy This URL and Paste into Address Bar to start Download QuickBooksToolHub.exe.
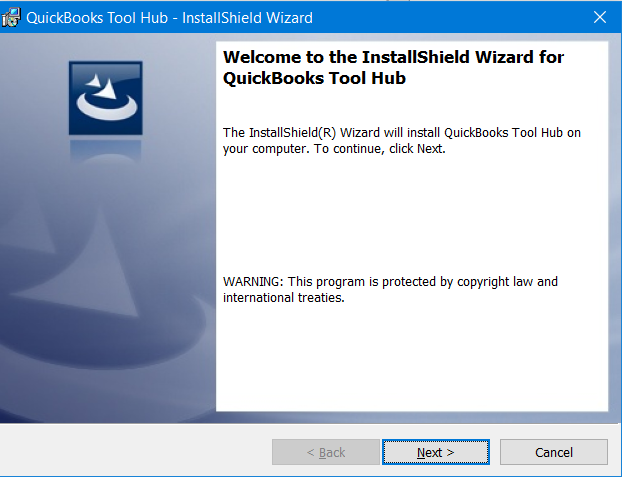
- Once the File is Downloaded, Double Click on the file to start the installation process.
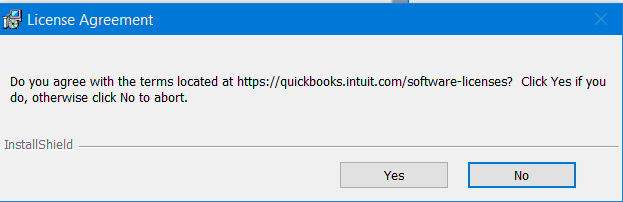
- Click on Positive options Like allow, enable, and yes.
- At last Click on Finish.
#2: Launch Tool Hub
- Firstly, Start QB Tool Hub.
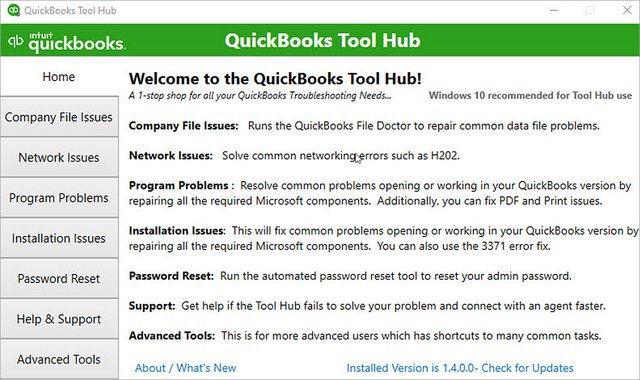
- Next, Select the “Program problems option” from the Tool hub home screen.
- After that, Click on the “Quick Fix my Program” button.
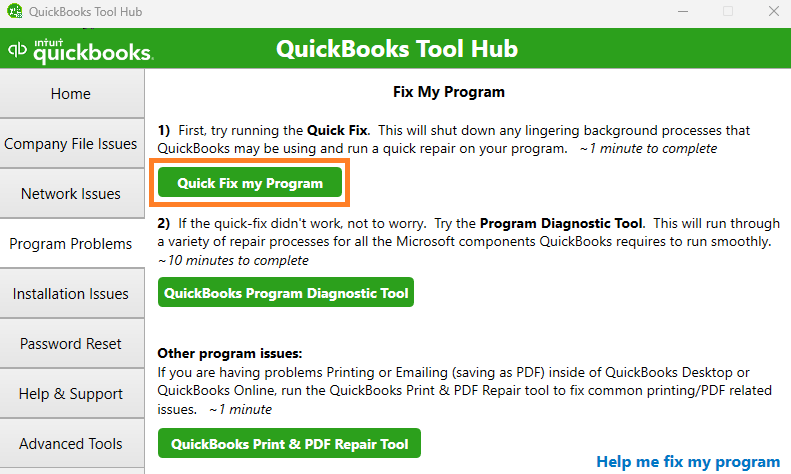
- A window dialog box pop-up and ask for permission to allow “Quick Fix my program” to start repairing QBD. This will hardly take 5 minutes.
- Once the repair process gets finished, You may try to verify whether the error is resolved or not.
Alternatively, you can visit the installation issues tab of the Tool Hub and run the QuickBooks install diagnostic tool to fix any installation issues like Error 1712 in QuickBooks.
Method 3: Uninstall and Reinstall all Visual C++ redistributables
- Press the windows button.
- Search For “Control Panel”.
- Next, Open the “Control panel” and select the “Uninstall a program” option.

- Once you uninstall all visual c++ redistributables.
- Next, Click on Download now button below to Download “Microsoft Visual C++ redistributable“.
Note: Make sure to download Microsoft Visual C++ according to your OS version(For 32 Bit select: X86, For 64 Bit select: X64). It is safe to remove these files from your system as these are an additional part of your installed software and do not affect your system-related files.
Method 4: Create a new local Windows user
Follow the below steps to make a new local Windows user and then convert it to the admin:
- Click on the start button and then go to the Windows settings by typing settings in the search bar.
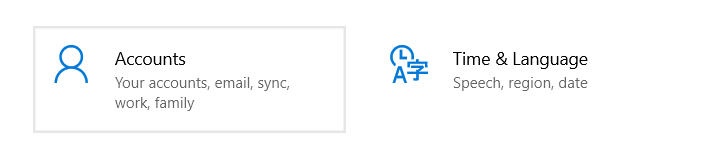
- Next, click on the accounts tab and now in the accounts window, you can see the “family and others” in the left pane.
- Click on this option and now go to the ‘other users‘ section and hit the ‘+’ icon to add a local user in the windows.
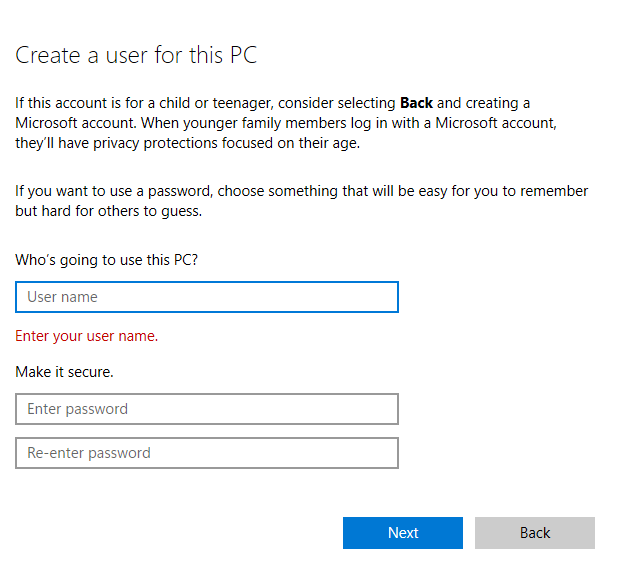
- Now choose the following options if you do not have an MS Outlook mail account or do not want to sign up with the one (I don’t have this person’s sign-in information, Add a user without a Microsoft account).
- Next, you can set a username and password, but if you would like to skip the password you can leave the password section empty and click on next.
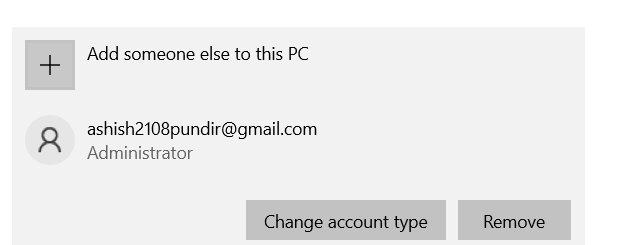
- If you want to give admin rights to the local user then again go to the accounts settings by following this path: Start>>Settings>>Accounts.
- Now under the Family & Other users, choose the account owner name and hit the ‘change account type’ button to give admin rights to this user.
- At the end click on ok and now switch to this user and run the QuickBooks in this user account.
Method 5: Disable Anti-virus and Firewall Software
- Temporarily disable your antivirus and firewall software on your computer.
- Try and open QuickBooks to check if error 1712 is resolved.
- If the error doesn’t occur, you may need to configure your antivirus and firewall settings to allow QuickBooks.
Configuring Antivirus Settings
Step 1: Identify the antivirus software on your computer
Different antivirus programs have different interfaces and settings. Identify the antivirus software installed on your system, such as McAfee, Norton, Avast, or Windows Defender.
Step 2: Open the antivirus software
Locate the antivirus program in your system tray or search for it in the Start menu. Open the antivirus software to access its settings.
Step 3: Exclusions or Exceptions settings
Look for settings related to exclusions or exceptions. These settings allow you to specify files, folders, or processes that should be excluded from antivirus scanning.
Step 4: Add QuickBooks files and folders to exclusions
In the exclusions or exceptions settings, add the following QuickBooks files and folders:
- QuickBooks installation folder (usually located in “C:\Program Files\Intuit\QuickBooks”)
- Company file(s) location(s)
- QuickBooks executable file (e.g., “QBW32.exe” or “QuickBooks.exe”)
Step 5: Save the changes and exit the antivirus software
Once you have added the necessary exclusions, save the changes and exit the antivirus software. Restart your computer for the changes to take effect.
Configuring Firewall Settings
Step 1: Identify the firewall software on your computer
Determine the firewall software running on your system. Common firewall programs include Windows Firewall, Norton Firewall, or McAfee Firewall.
Step 2: Open the firewall settings
Locate the firewall program either in the system tray or search for it in the Start menu. Open the firewall software to access its settings.
Step 3: Allow QuickBooks through the firewall
Look for options to allow or create exceptions for specific applications or ports. Add the following QuickBooks-related exceptions:
- QuickBooks executable file (e.g., “QBW32.exe” or “QuickBooks.exe”)
- QuickBooks communication ports: 8019, 56728, 55378-55382
Step 4: Save the changes and exit the firewall software
Once you have added the necessary exceptions, save the changes and exit the firewall software. Restart your computer to ensure the changes take effect.
Method 6: Perform a Clean Boot in windows
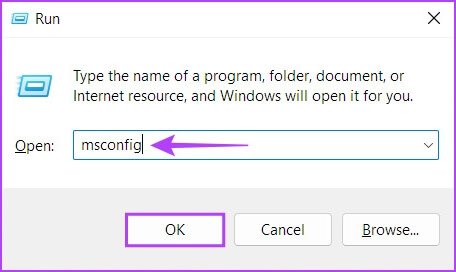
- Press the Windows key + R, type “msconfig” in the Run dialog, and hit Enter/ click on “OK”.
- In the System Configuration window, go to the “Services” tab.
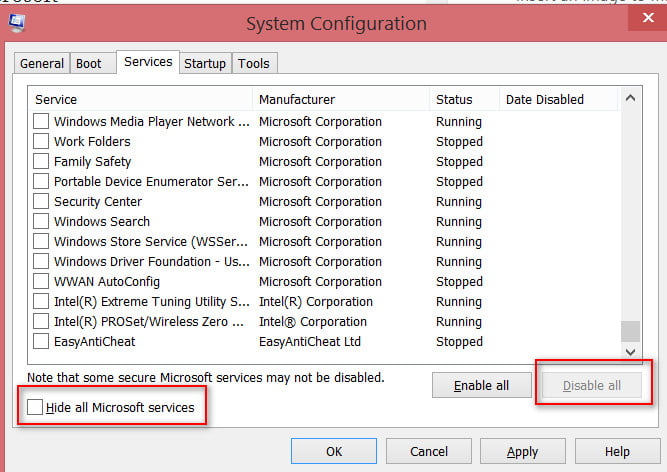
- Check the “Hide all Microsoft services” box and click the “Disable all” button.
- Go to the “Startup” tab and click “Open Task Manager.”
- In the Task Manager, disable all startup items one by one by selecting them and clicking the “Disable” button.
- Close the Task Manager and go back to the System Configuration window.
- Click “Apply” and then “OK.”
- Restart your computer and try opening QuickBooks again, check if you are still getting the error 1712.
Method 7: Download and Install the latest Windows updates
First: Windows 8
- Click on the Settings button located on the right side of the desktop.
- Choose Update and Recovery from the list of options under Change PC settings.
- After selecting Windows Update, click the Check Now button.
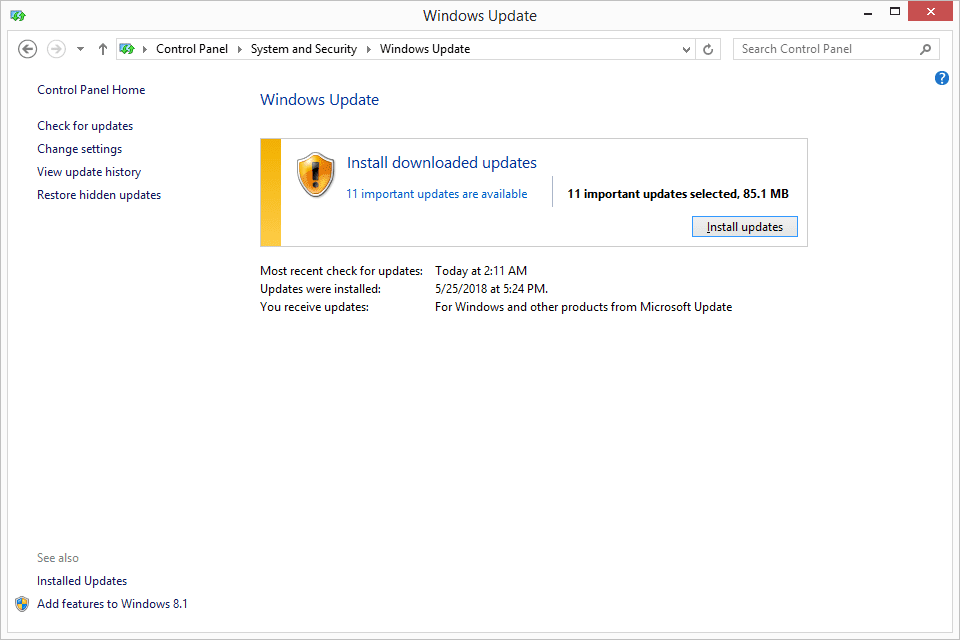
- Click on the “View Details” tab whenever you see there are any new updates available.
- From the list of available updates, choose KB 2919355 and then click the “Install” button.
- After the installation is complete, you should restart the computer and enter the password for the Windows administrator account if you are requested to do so.
Second: Windows 10
- Press the Windows key, then type Settings.
- From the drop-down menu, select Update and Security, and then click the Windows Update button.
- You can determine whether or not there are any new versions by clicking the Check for Updates button.
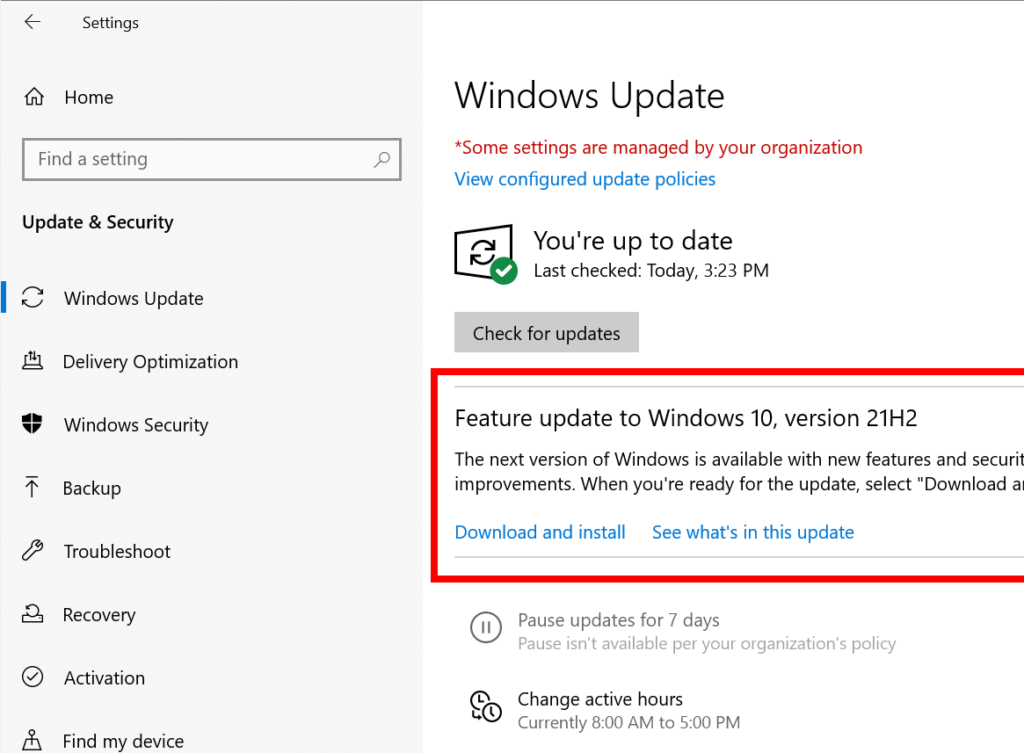
- Choose the option to Restart Now, and the installation of the updates will begin.
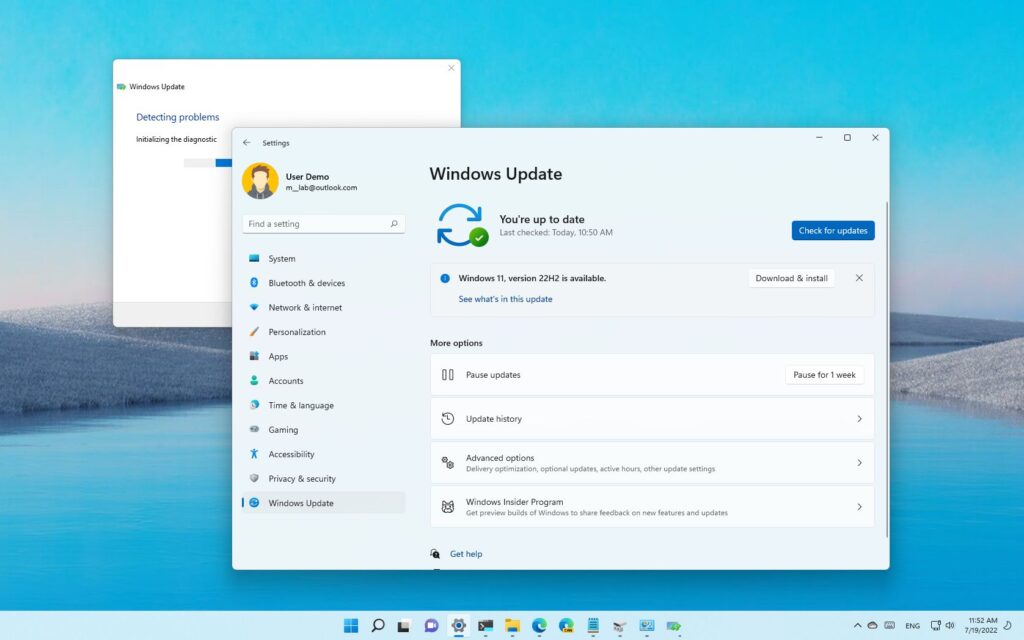
Third: Windows 11
- You can check for some of these small pointers if you would like to have the latest Windows (window 11): i3 processor with a clock speed of 1GHz at least, 4GB RAM, HDD or SSD of 512 GB or more (as Windows 11 exceeds the mark of 40 GB), internal graphic card, stable network.
- Proceed with the following steps if you already have the windows 11.
- Now hit the windows icon and type settings in the search bar, press Enter key.
- Inside the Windows 11 settings menu, go to the Windows update option in the left pane.
- You can see the ‘updates available to download’ message if your version of the window can update to the latest version. You may see the ‘download and install all’ button if you have any pending updates.

- If you do not have any pending updates then you shall see the “you’re up to date” message.
Method 8: Check and fix the damaged QBDT registries
- Close the QBDT if you are using it currently.
- Then, you have to open the registry editor, to do so you can press the Windows start button and then type registry in the search bar.
- Next hit the enter button to open up the registry editor, now navigate to the following path: HKEY_CURRENT_USER > Software > Microsoft > Windows > Current Version > Explorer > User Shell Folder.
- Now double-click and open the ‘App Data’ from the right pane.
- Replace the original value with the new value. The value that is to be replaced: %USERPROFILE%\AppData\Roaming, The value that is to be entered: C:\Users\sagecorp\AppData\Roaming.
- Again open the QBDT and check if you are still getting the error 1712.
Method 9: Complete re-installation of the Windows OS
Windows 11
Creating installation media
- Use a separate storage device to download the latest version of Windows 11. Make sure that this device is empty as the download will automatically delete anything stored on this device.
- It is recommended to use Microsoft’s official website to download the latest version of the Windows 11 OS and the additional installation media.
- When the download is finished open the Windows 11 installation media and run the .exe file.
- Accept all the terms and conditions and choose ‘Create installation media (USB flash drive, DVD, or ISO file) for another PC‘, then hit the next button.
- Select a language, edition, and architecture (64-bit or 32-bit), and then choose Next.
- Choose the USB flash drive, and then select Next.
- Follow the steps to the end to create installation media, and then choose Finish.
Make use of installation media to reinstall Windows 11
- Connect the installation media to your PC and then choose the drive with the installation media.
- Double-click on the setup.exe and then choose yes to allow the program to make changes to your computer.
- When prompted select one of the following options, and then choose Next:
- Keep personal files and apps – This will save your personal data, apps, and settings.
- Keep personal files only – This will save your personal data and settings, but all your apps will be deleted.
- Keep nothing – This will delete all your personal data, settings, and apps.
- To end the process, choose Install to start reinstalling Windows 11 on your PC.
Your PC will restart again and again to complete the re-installation of the Windows OS. You can follow the same procedures to re-install the Windows 10 OS.
Closure
As we conclude this article, we hope that the techniques discussed above have been helpful in resolving the QuickBooks installation Error 1712. However, if you are still struggling to remove Error code 1712 in QuickBooks 2023, do not hesitate to seek assistance from our QB Data Services experts. Our team can be reached, and we will be more than happy to help you install QuickBooks on your workstation without any further interruption. Contact us today at 1-888-538-1314 to get the prompt and reliable support you need!
Frequently Asked Questions
Unable to install error 1712 QuickBooks 2023?
You’re probably trying to install QBD 2023 using a Damaged Compact disc or unstable internet source.
Will this troubleshooting help in fixing QuickBooks Error 1603?
Yes, a Few methods are pretty identical to troubleshooting QuickBooks Error Code 1603.
Will changing the QuickBooks Version help in fixing this installation message code 1712?
It would probably help, But there is no guarantee.
