
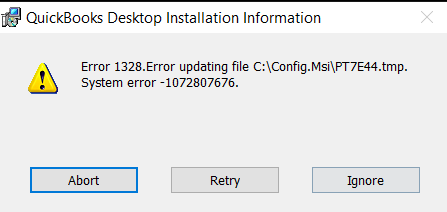
QuickBooks Error 1328 is a recurring challenge for many users of this globally renowned accounting software. Despite QuickBooks being a vital tool for businesses, this specific error, commonly appearing during software updates, has the potential to disrupt operations. The issue is not just its sporadic appearance; it’s the varying ways it can manifest depending on its cause. From installation hitches to update interruptions, the effects of this error can vary. Fortunately, understanding its roots and the solutions can make a difference. Dive into this guide to grasp the nuances of Error 1328, its common triggers, and the effective troubleshooting techniques to overcome it. Whether you’re a tech-savvy professional or a beginner, this guide aims to be your comprehensive companion in resolving the QuickBooks Error 1328.
Common causes for QuickBooks Desktop Error 1328
Encountering QuickBooks error 1328 during a file update can be attributed to a range of factors. These triggers encompass a variety of issues, from software to hardware-related problems, and include:
- Using a license number that is not compatible with the version of QuickBooks you are trying to install.
- Infection of critical Windows system files with viruses and malware.
- Partially downloaded or corrupt software setup files for the installation.
- Sudden system failure or improper Windows shutdown.
- Damaged or corrupted program files causing error 1328.
- Invalid Windows registry entries due to recent modifications.
- Network and connectivity issues leading to error 1328.
- Insufficient disk space for the update process.
- Conflicts with other software or applications installed on the system.
- Outdated or incompatible device drivers affecting QuickBooks update.
- User account permissions restrictions preventing successful update installation.
Understanding these root causes is instrumental in effectively troubleshooting and resolving QuickBooks Error Code 1328, ensuring smoother operations and reduced downtimes.
What are the Major Signs of QuickBooks error code 1328?
The main indications of this error include:
- The appearance of the error message on the system screen.
- Inability to perform QuickBooks updates.
- The system’s response time becoming exceedingly slow.
- The failure of the repair method.
- Unexpected shutdown of Windows.
You may also get QuickBooks Data Recovery Services
Troubleshooting QuickBooks Update Error 1328
Encountering QuickBooks Update Error 1328 can disrupt your workflow. But worry not; we have streamlined the most effective solutions derived from multiple expert sources to ensure you resume your QuickBooks activities in no time.
Solution 1: Renaming the Config.msi File
The Config.msi file plays a critical role during software installation in the Windows operating system. A damaged or interrupted Config.msi can be a root cause of the QuickBooks Error 1328. By renaming this file, Windows will be prompted to generate a fresh one, potentially resolving the error.
- Press the Windows key + E simultaneously on your keyboard. This will open the File Explorer.

- Once inside the File Explorer, head to the Local Disk (C:).
- Click on the ‘Organize‘ tab located at the top.
- From the drop-down list, select ‘Folder and Search Options‘.
- Within the ‘View‘ tab, ensure you deselect the option ‘Hide Protected Operating System Files‘ to make hidden files visible.

- Utilize the search bar at the top-right corner and type “Config.msi“. The system should locate this file for you swiftly.
- Once the Config.msi file is located, right-click on it and choose ‘Rename‘. Append ‘.OLD‘ at the end of the file name, making it ‘Config.msi.OLD‘. This action will render the file inaccessible for QuickBooks, prompting the system to generate a new Config.msi file when needed.
- Once renamed, ensure you save all changes. It’s a good practice to restart your system and then launch QuickBooks again to check if Error 1328 is resolved.
In case this solution doesn’t address the error, it’s advisable to seek more advanced troubleshooting or get in touch with the QuickBooks support team for specialized assistance. Remember, the main aim is to ensure smooth operations, so always ensure you’re equipped with regular backups of your essential data.
Solution 2: Use Registry Repair Tool
- Start by applying a registry repair tool to repair the damaged registry entries related to the QuickBooks application.
- Use a malware removal tool to fix any malware attacks on your system and eliminate all malware attacks from your computer device.
- Clean up all the unnecessary or junk files from your System.
- Uninstall all outdated PC Device Drivers.
- Use the “Undo” function to reverse Recent System Changes in your Windows System.
- Uninstall and reinstall the QuickBooks application.
- Run your Windows System File Checker by performing a scan.
- Install all essential Windows Updates.
Please Note: Error Code 1328 may appear when updating QuickBooks. It may appear as a standalone error or before another error, and the files referenced by these errors are usually similar to c: \ config.msi \ PT **. TMP. The way error 1328 presents itself may vary depending on the cause, as the text and options will be different.
Solution 3: Repair your QuickBooks Desktop Program Files
Start by acquiring administrative permissions and log into your Windows. Proceed to open your Windows Control Panel and select the ‘Programs & Features’ option. Under this menu, locate the section marked QuickBooks product, select it, and choose to uninstall or change it. When the QuickBooks installer pops up, opt for the repair option. Once this process is completed, execute the QuickBooks application on your system and apply the necessary patch. Ideally, the patch should take effect immediately, resolving your issue. If you’re still facing problems, it might be necessary to seek technical assistance or move on to the subsequent solution.
Solution 4: Reinstallation via a Clean Install
Begin by uninstalling the current QuickBooks Software from your system. Following this, proceed with a fresh installation of the accounting software. There are two methods for doing this. You can choose to initiate the QuickBooks installation directly from the CD drive or via a downloaded file stored on your computer. The direct installation from a CD is fairly straightforward. Once ready, download or install the QuickBooks program, either by following the instructions in the manual guide or by seeking expert assistance for quick and efficient help.
Solution 5: Utilize QuickBooks Install Diagnostic Tool
Facing errors during the installation or update of QuickBooks? The QuickBooks Install Diagnostic Tool is designed to automatically detect and fix these issues, especially ones related to Windows components like MSMXL, .Net Framework, and C++. Let’s walk through the steps to use this tool effectively.
Step 1: Download and Install the QuickBooks Tool Hub
- Ensure QuickBooks Desktop is closed.
- Download the QuickBooks Tool Hub from the official Intuit website. It’s critical to avoid third-party websites for a secure and genuine download.
- Navigate to the ‘Downloads’ folder on your computer and locate the recently downloaded
.exefile. - Double-click the setup file and follow the on-screen instructions.

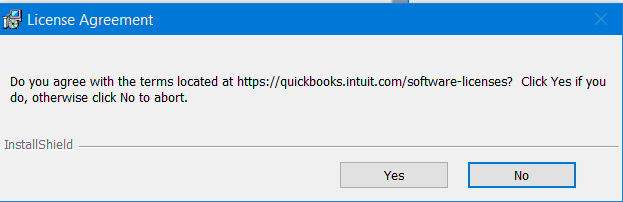
- Agree to the terms and conditions to proceed with the installation.
- Once installed, you will see the QuickBooks Tool Hub icon on your desktop.
Step 2: Utilize the QuickBooks Install Diagnostic Tool
- Launch the QuickBooks Tool Hub by double-clicking its desktop icon.
- In the tool hub, select the ‘Installation Issues‘ tab.

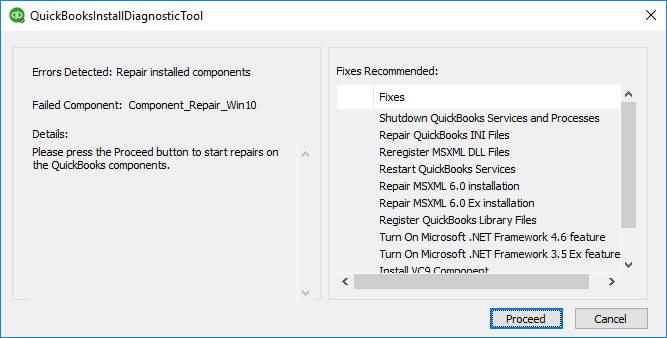
- Here, you’ll find the ‘QuickBooks Install Diagnostic Tool‘. Click on it.
- Accept the EULA Agreement when prompted.
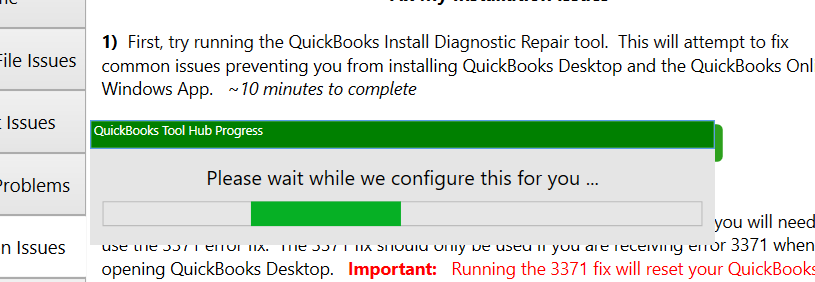
- Allow the tool to run and diagnose potential installation problems. Note: This process may take some time, depending on your system’s performance and the nature of the issues.
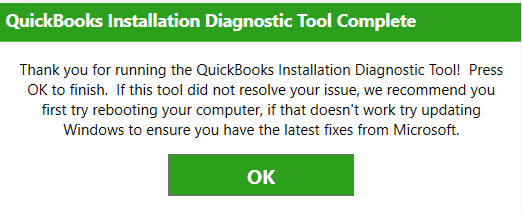
- Once the diagnostic tool completes its process and repairs any detected issues, it’s vital to restart your computer. This ensures any changes made by the tool are properly implemented.
Important: Always ensure that you have a stable internet connection and close all unrelated applications during this process to avoid any interruptions. The time taken by the installation process can vary based on internet speed and computer performance.
By following these steps, most installation and update issues in QuickBooks, including the QuickBooks update error 1328, should be resolved.
Solution 6: Update Windows
Updating your Windows can also help resolve this issue.
- Start by clicking on the Start tab and proceeding to the Settings tab.

- From there, select the ‘Update and Security‘ tab. Click on the ‘Update and Security‘ menu, and then choose ‘Windows Update‘.
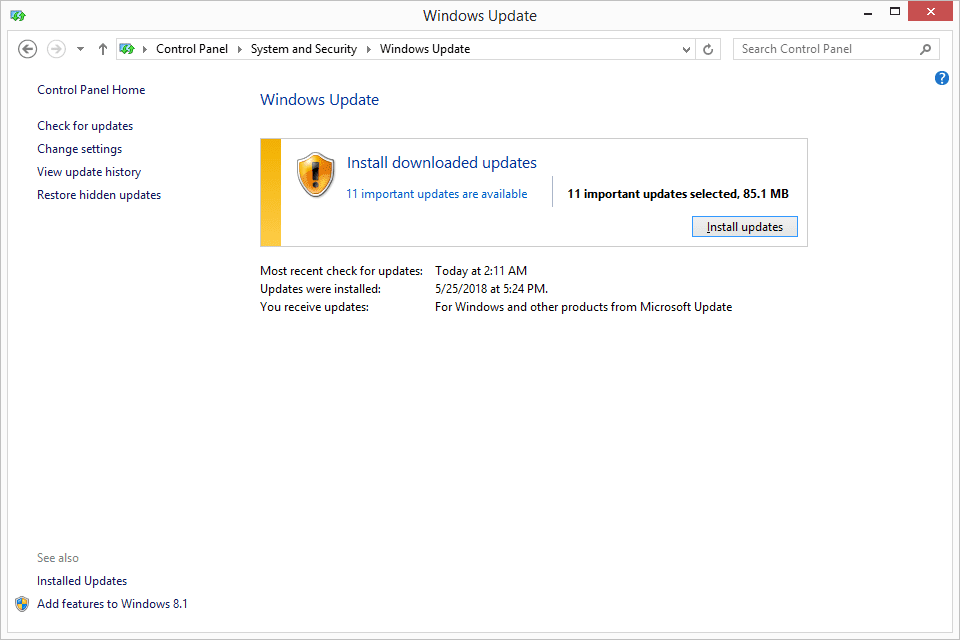
- Select ‘Check for Updates’.
- If your system identifies any available updates, immediately start the downloading process and install all essential updates.
- After this, restart your system to allow the updates to take effect.
Solution 7: Utilize System File Checker
- Begin by clicking on the Start tab.

- In the search box, type ‘cmd‘ and run it as an administrator.
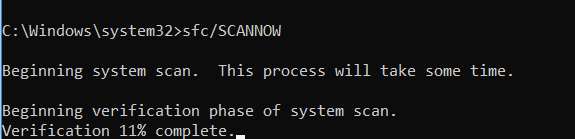
- Enter the following command: SFC/scannow and press enter.
- The system file checker will then check for any system file issues and automatically rectify them. After the process is complete, close all active windows and launch QuickBooks.
Lastly, please note that if you encounter error 1328 while updating to the latest release of QuickBooks Point of Sale V19 or V11, it could be due to the update installer encountering a file of a different QuickBooks version than it expected. If this happens, rename the file “C:\Config.MSU\PTFB53.tmp”, then reinstall the patch, or perform a clean reinstall of Point of Sale and then update or apply the patch again.
Closing statements
That’s all there is to it! If you’re still facing the issue, don’t worry, we’re here to assist. This blog has provided straightforward methods to resolve the QuickBooks error 1328 on your system. We conclude this post hoping that our guidance was beneficial and helped you tackle this problem. If the issue persists despite trying all the suggested techniques, we advise you to reach out to our QB Data Service team for further support. You can contact our team via our helpline or use the live chat feature for immediate assistance.
